Latest from AiKYNETIX
Research notes, coaching practice, and product updates — the thinking behind the metrics.
- Articles

When the Camera Becomes the Coach
How AiKYNETIX Closes the Lab-to-Field Gap
Jun 26, 2026 - Articles · Explainers
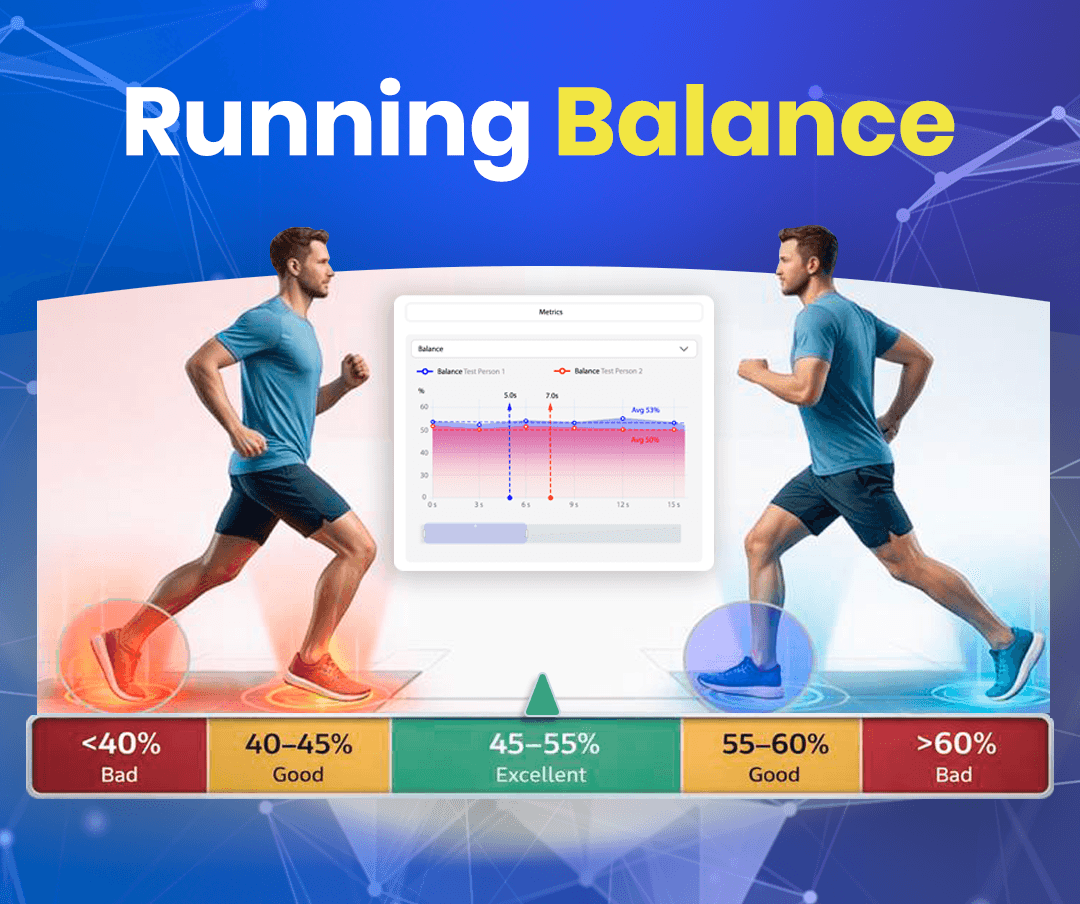
Balance in Running: Why Symmetry Matters (And How to Measure It)
This article explains how AiKYNETIX measures running symmetry (Balance %), and how coaches and clinicians can use this metric to guide training and rehabilitation.
Apr 6, 2026 - Articles · Explainers
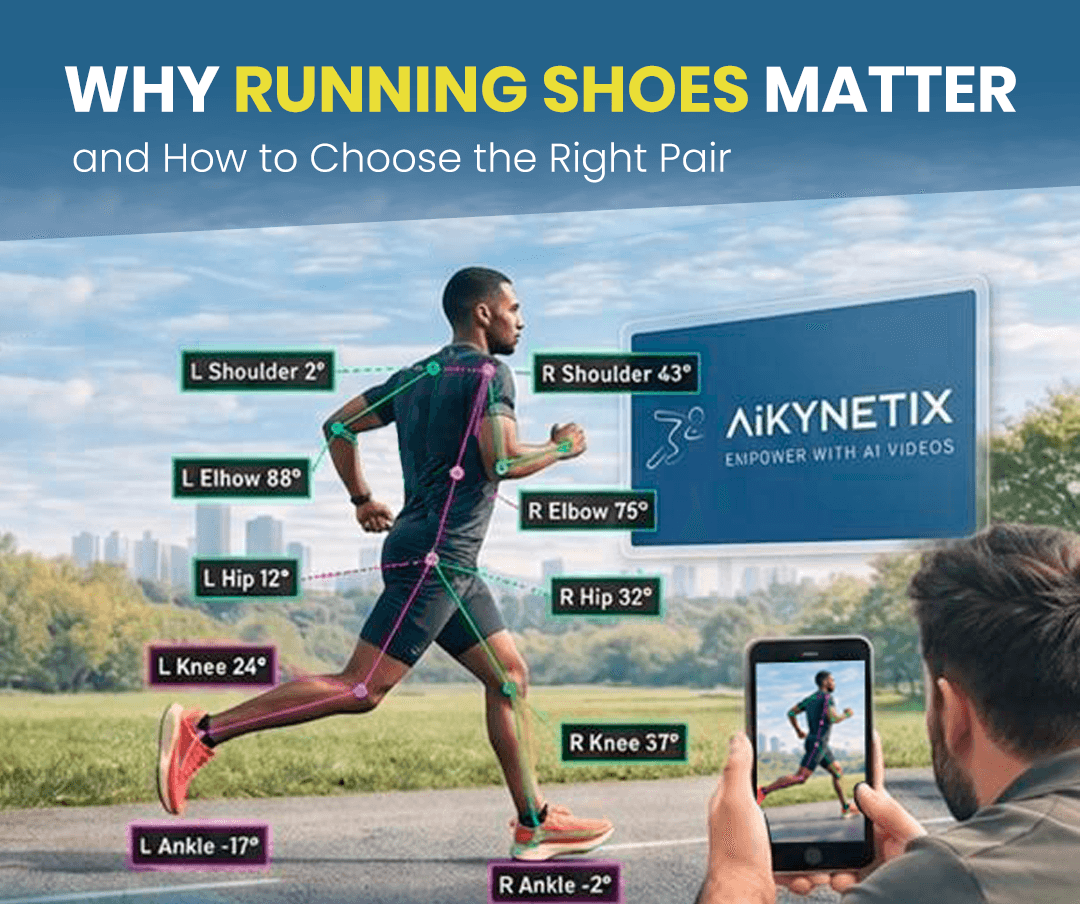
Why Running Shoes Matter - and How to Choose the Right Pair
Discover how AiKYNETIX uses video-based gait analysis to help runners find footwear that matches their unique movement patterns.
Mar 31, 2026 - Articles · Explainers
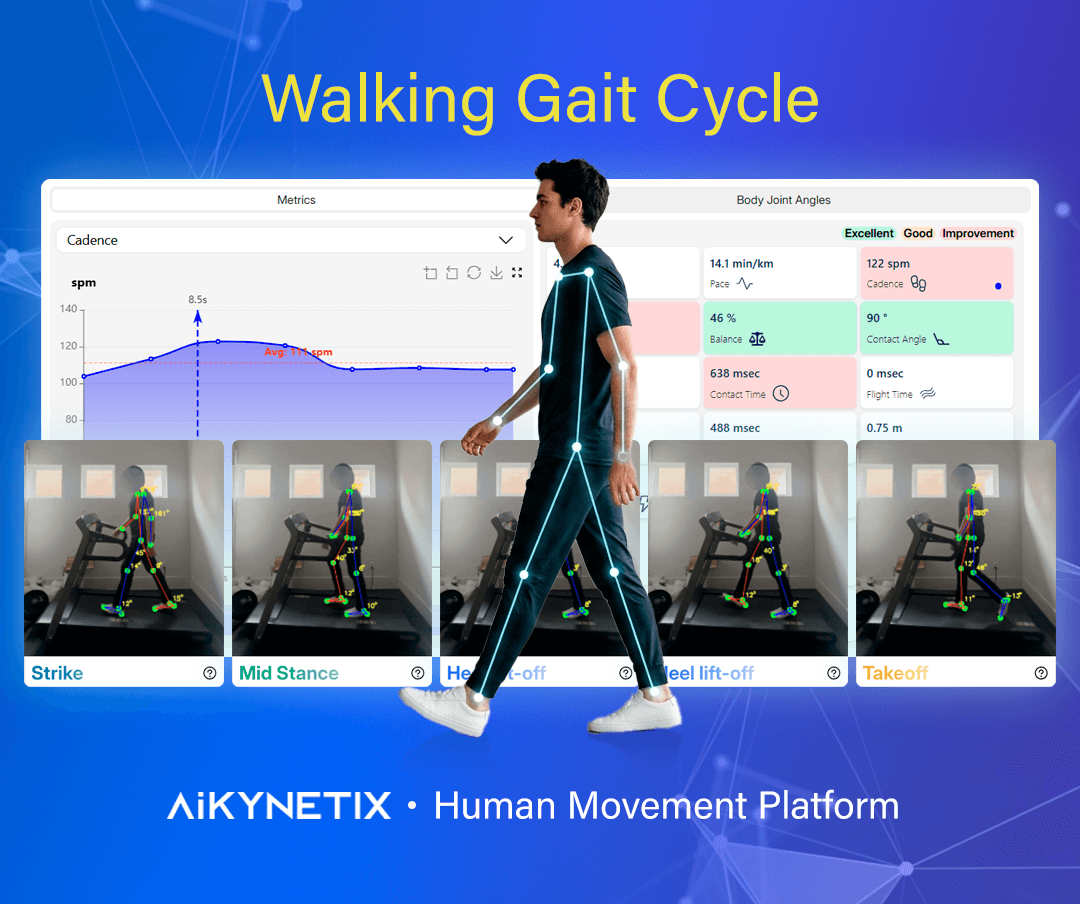
The Walking Gait Cycle: How AiKYNETIX Microanalyses Human Movement
From gait phases to micro‑variations: how AiKYNETIX turns video into clinical insight.
Mar 30, 2026 - Articles · Explainers
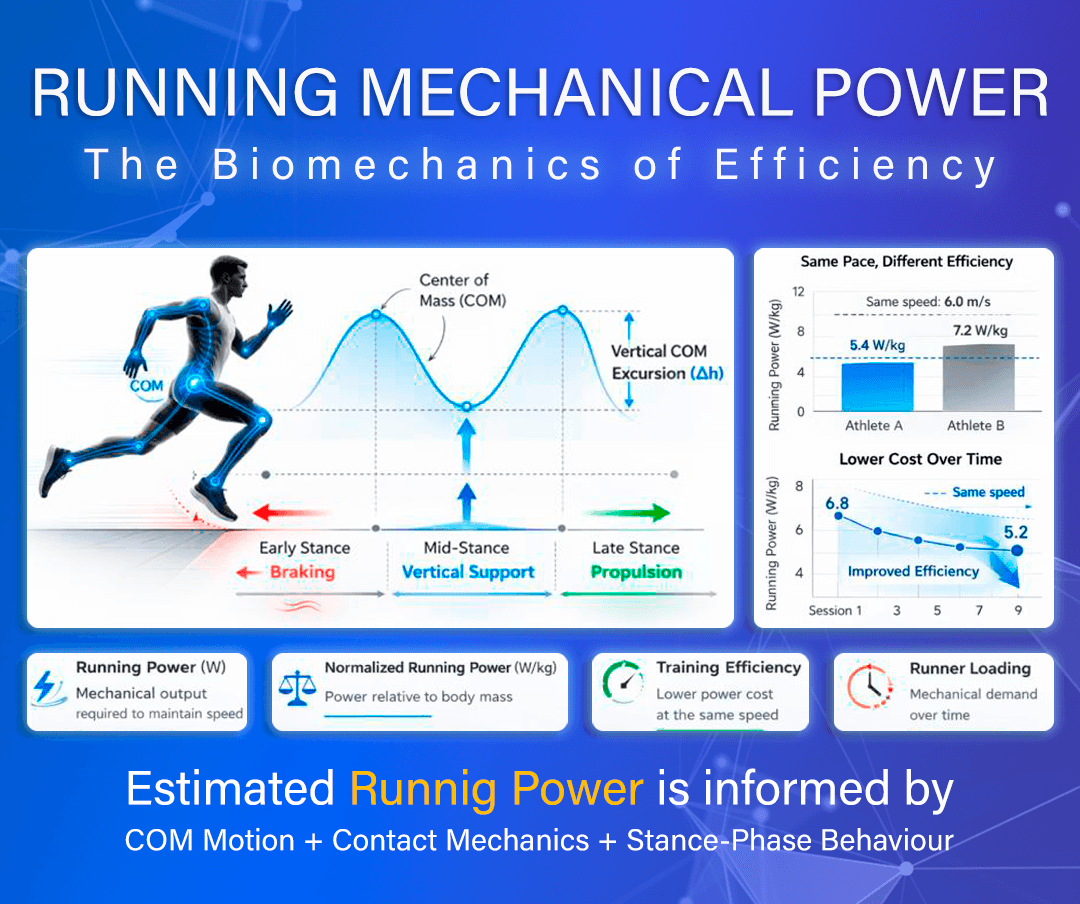
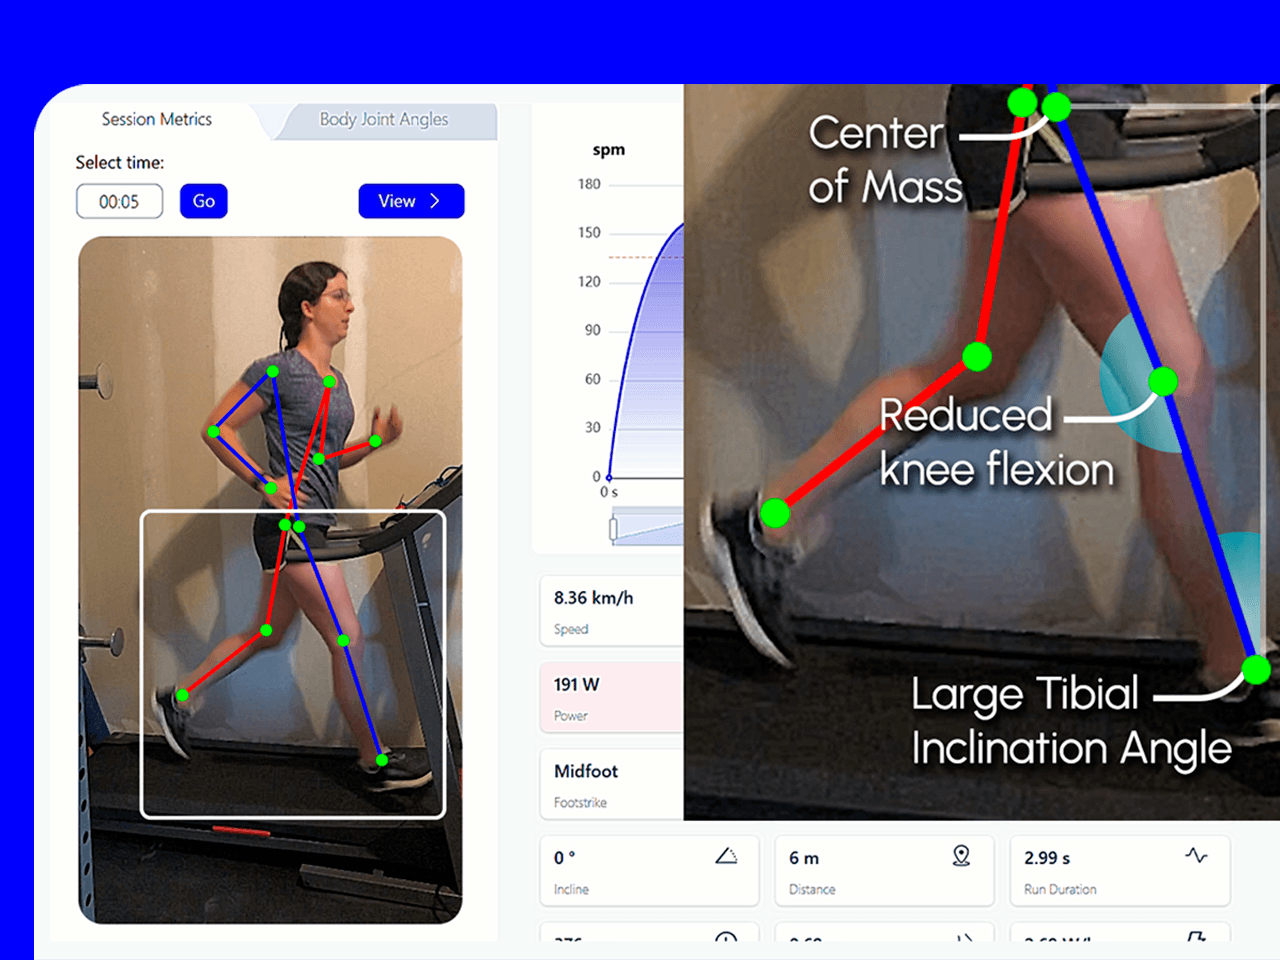
Running Mechanical Power: What It Really Tells Us About Efficiency
Running power reveals how efficiently you move - not just how fast. This guide breaks down vertical oscillation, braking, and contact mechanics, and how normalized power (W/kg) tracks real progress.
Mar 24, 2026 - Articles · Explainers
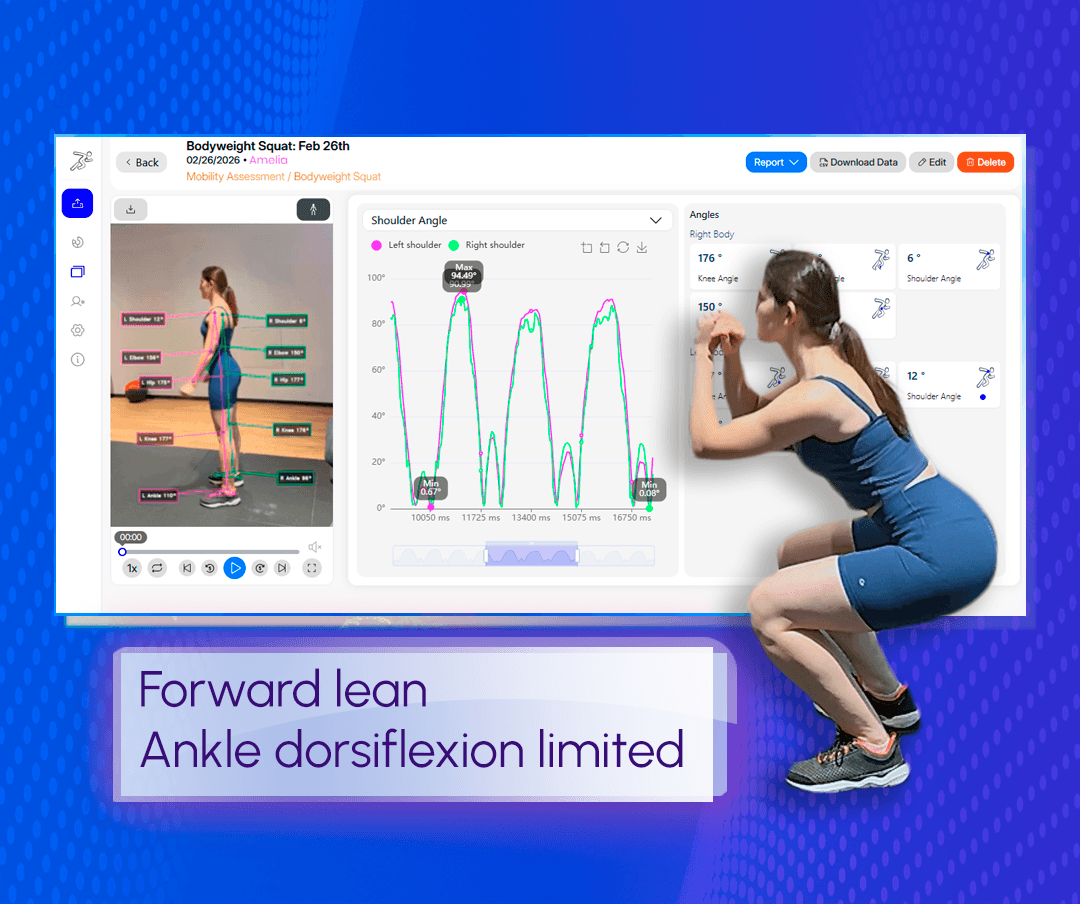
The Bodyweight Squat: What AI-Powered Data Taught Me About Movement (And Why Our Eyes Miss More Than We Think)
This is the story of one squat assessment, and why tools like AiKYNETIX are changing how we coach, treat, and rehabilitate.
Mar 17, 2026 - Explainers · Articles
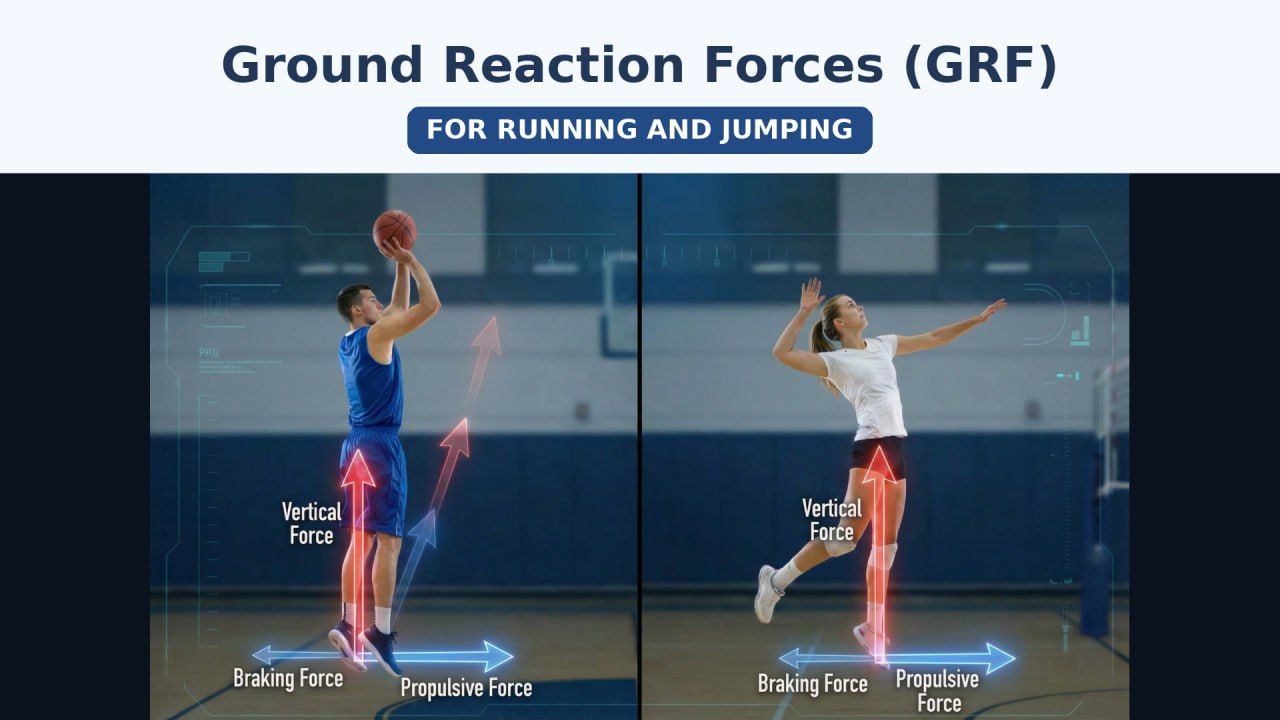
Ground Reaction Forces (GRF) for Running and Jumping
An educational guide for practitioners using AiKYNETIX Running and Jump tools.
Feb 6, 2026 - Articles · Explainers
AiKYNETIX: Clinical Methodology for Runner Diagnostics
Learn professional gait analysis protocols, KPI triage, and biomechanical interventions to optimize sports performance.
Jan 28, 2026 - Articles · Explainers
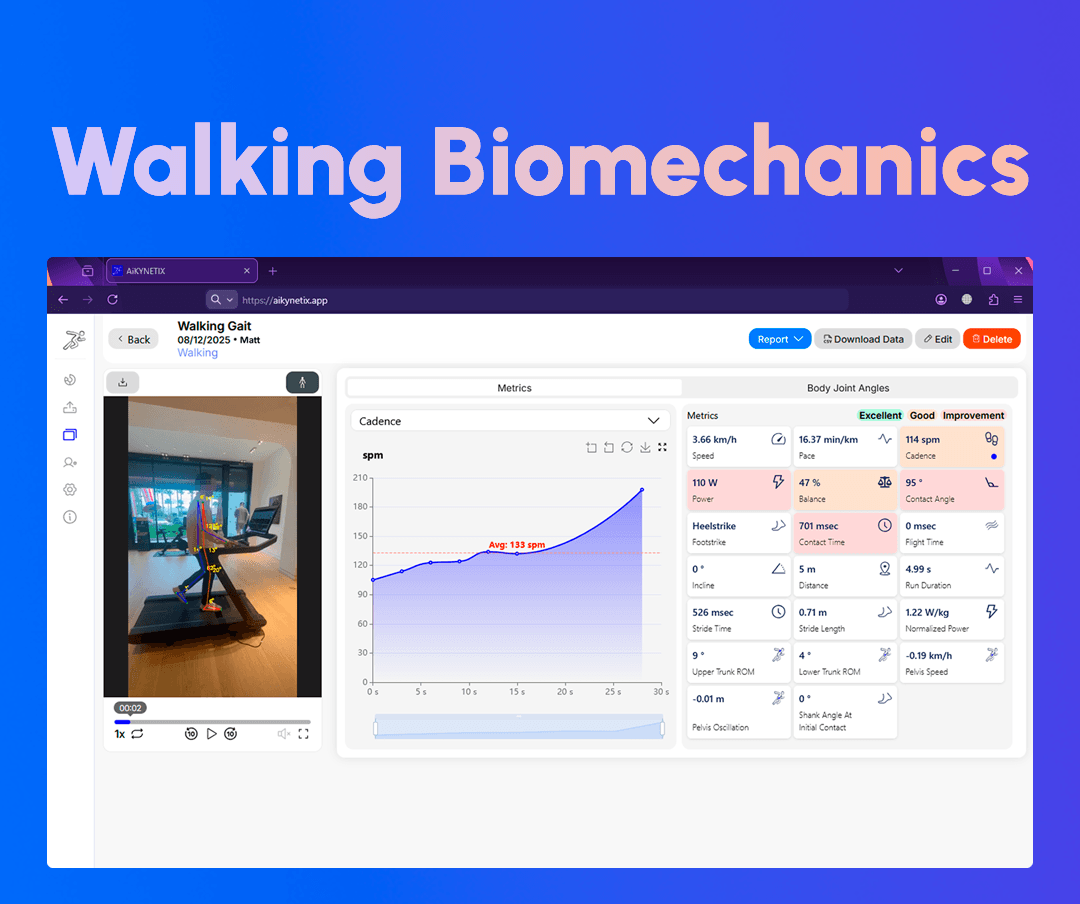
Walking, Quantified: Practical Gait Insights with the AiKYNETIX Web Platform
Walking is often treated as background movement, yet each step encodes balance control, impact management, propulsion, and joint coordination.
Dec 17, 2025 - Articles
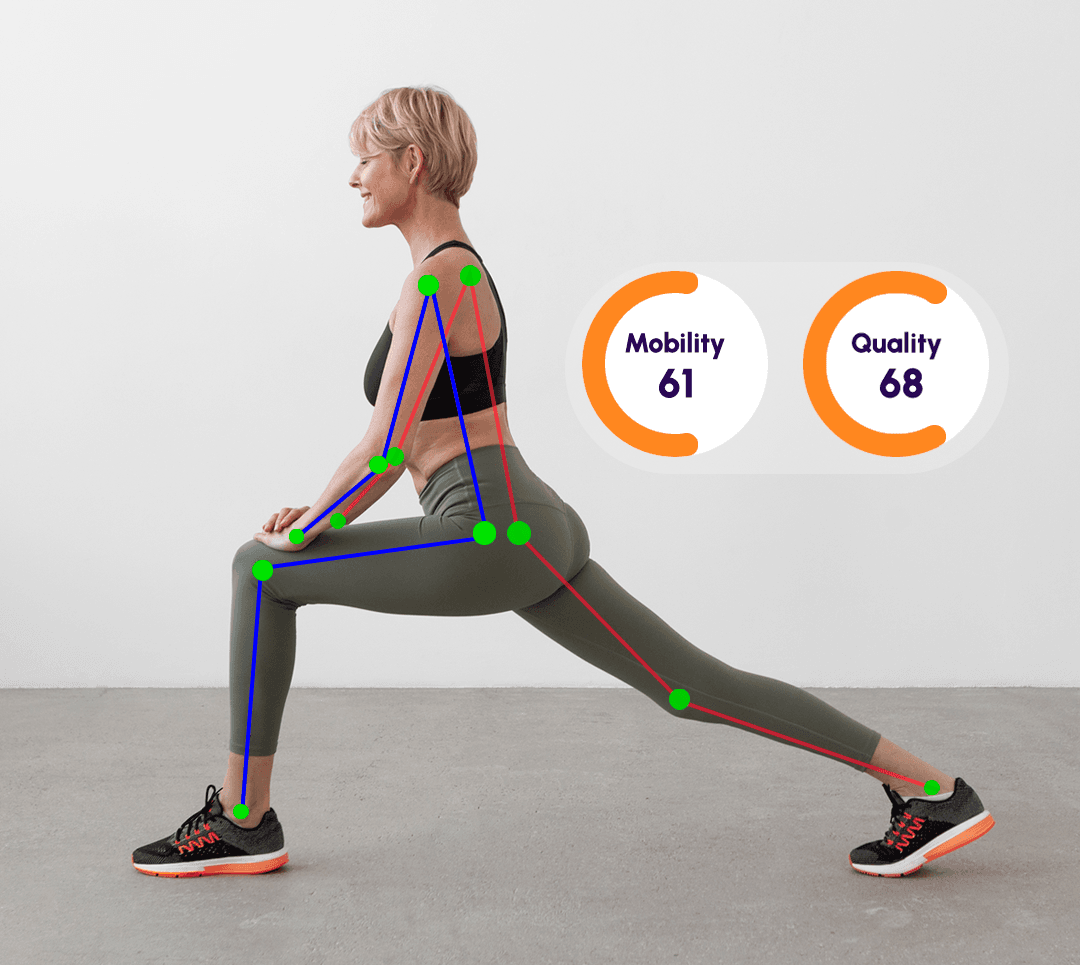
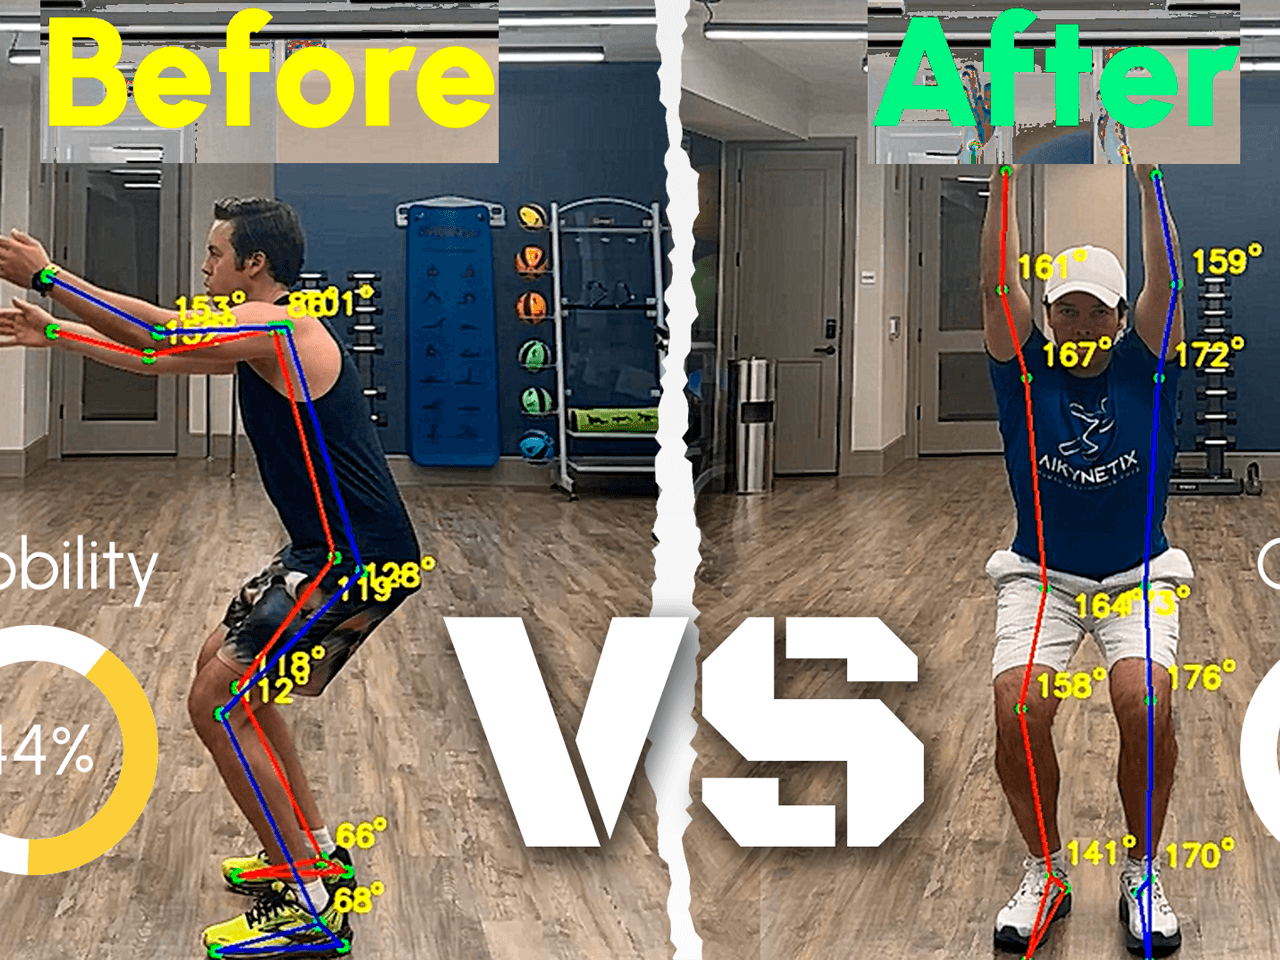
General Mobility Assessment: Why It Matters and How to Measure It
Learn what general mobility assessment is, why it is important, who uses it, and how modern tools like AiKYNETIX evaluate mobility with Overhead Squat and Joint Angle Mobility reports.
Aug 27, 2025 - Articles
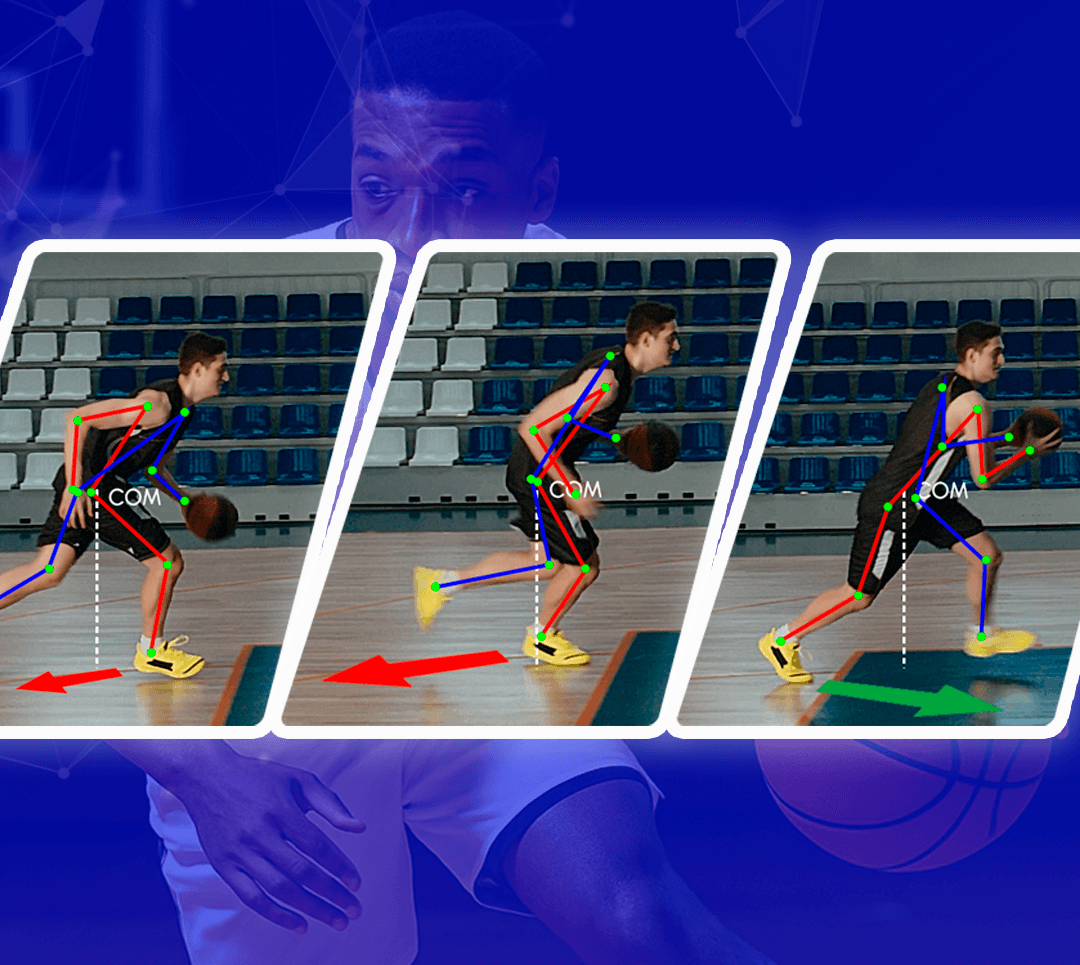
Basketball Agility: AI Video Analysis, Metrics & Coaching
How coaches can measure what matters—and turn video into actionable data.
Aug 14, 2025 - Articles
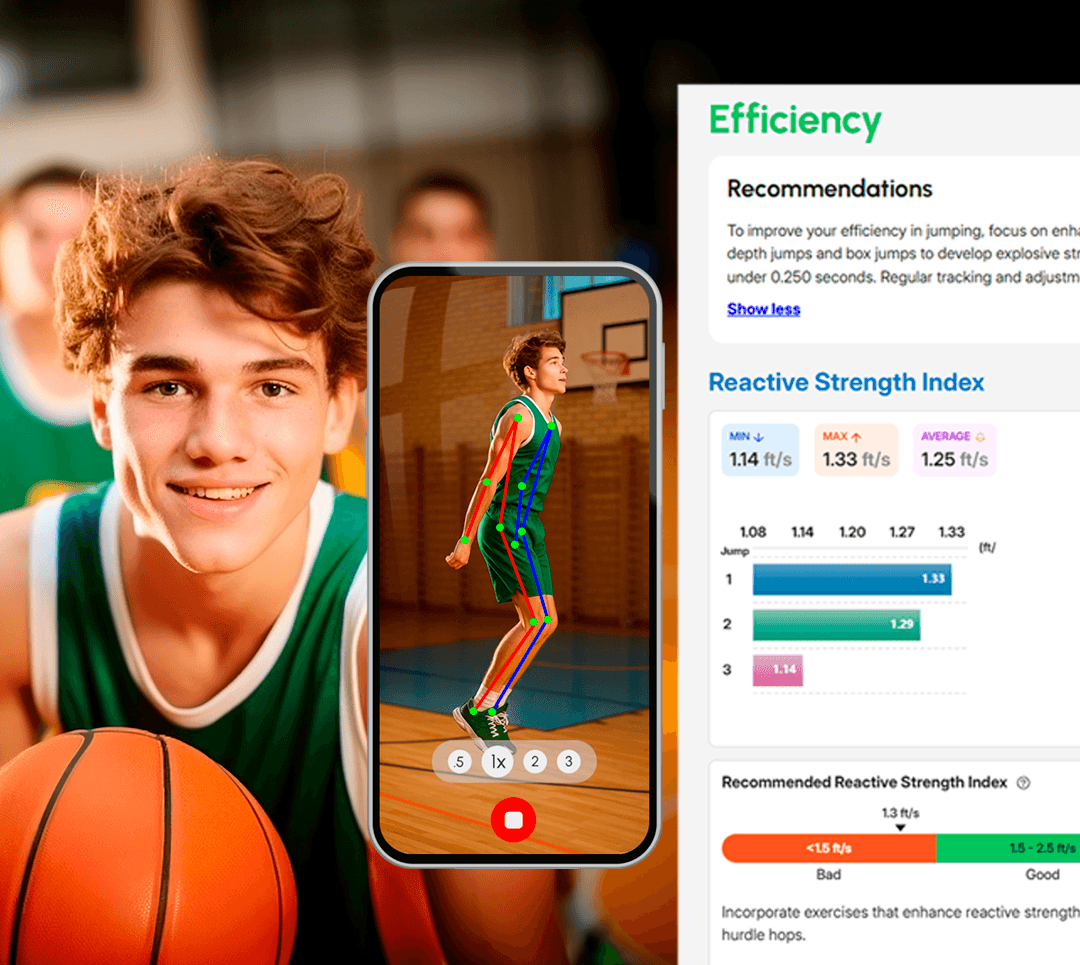
Elevate Basketball Strength & Conditioning with AI-Driven Video Analysis
Discover how AI video analysis transforms basketball training
Aug 6, 2025 - Articles
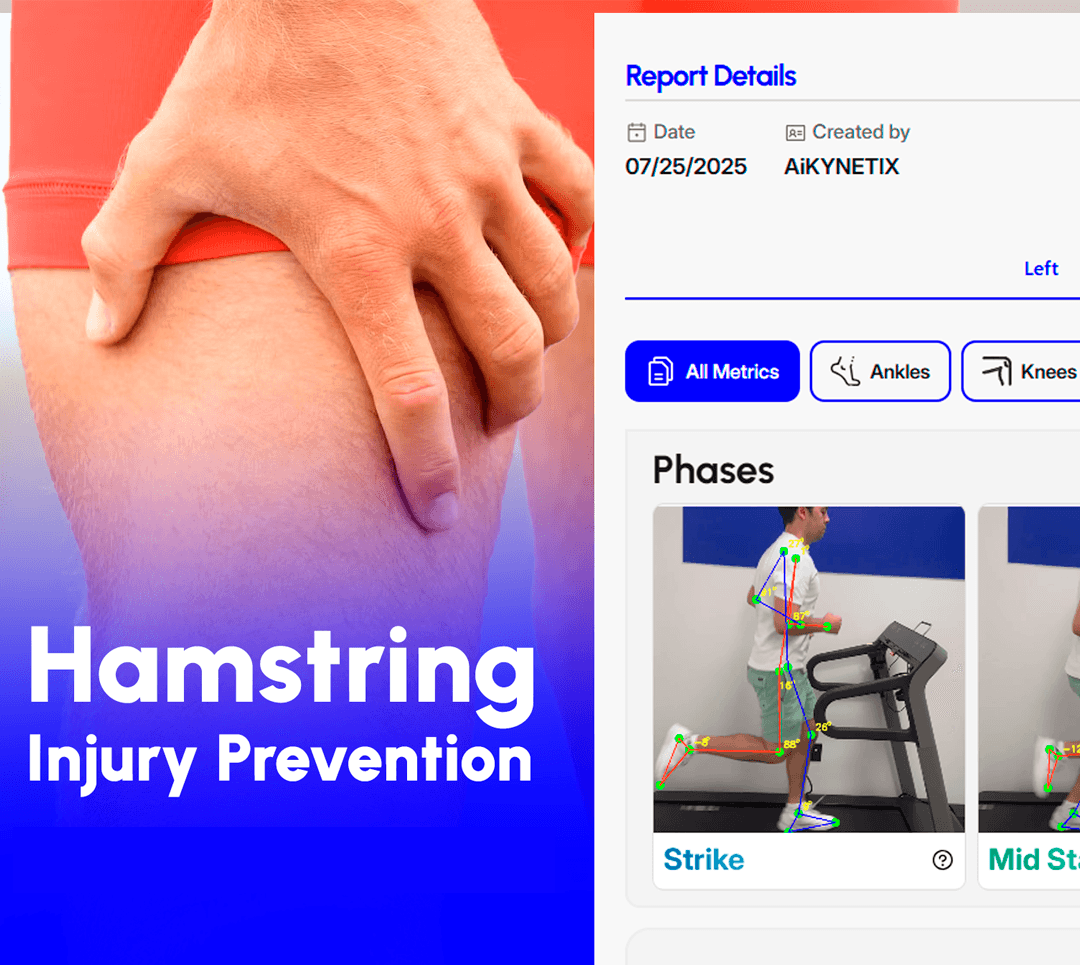
Prevent Hamstring Injuries with Quick Field Gait Checks
Prevent hamstring pulls with a 30-sec sprint video & AI – no force plates needed!
Aug 5, 2025 - Articles
Start Smart: A Beginner Coach’s Guide to Running Metrics with AiKYNETIX
How to identify and train what matters most — using just a video.
Jun 24, 2025 - Articles
How AI-Powered Squat Analysis Reveals Readiness, Risk, and Progress
Discover how the AiKYNETIX Web Platform uses video-based joint analysis to detect technique issues, monitor athlete fatigue, and measure training progress through overhead squat assessments—no sensors required.
May 27, 2025 - Articles
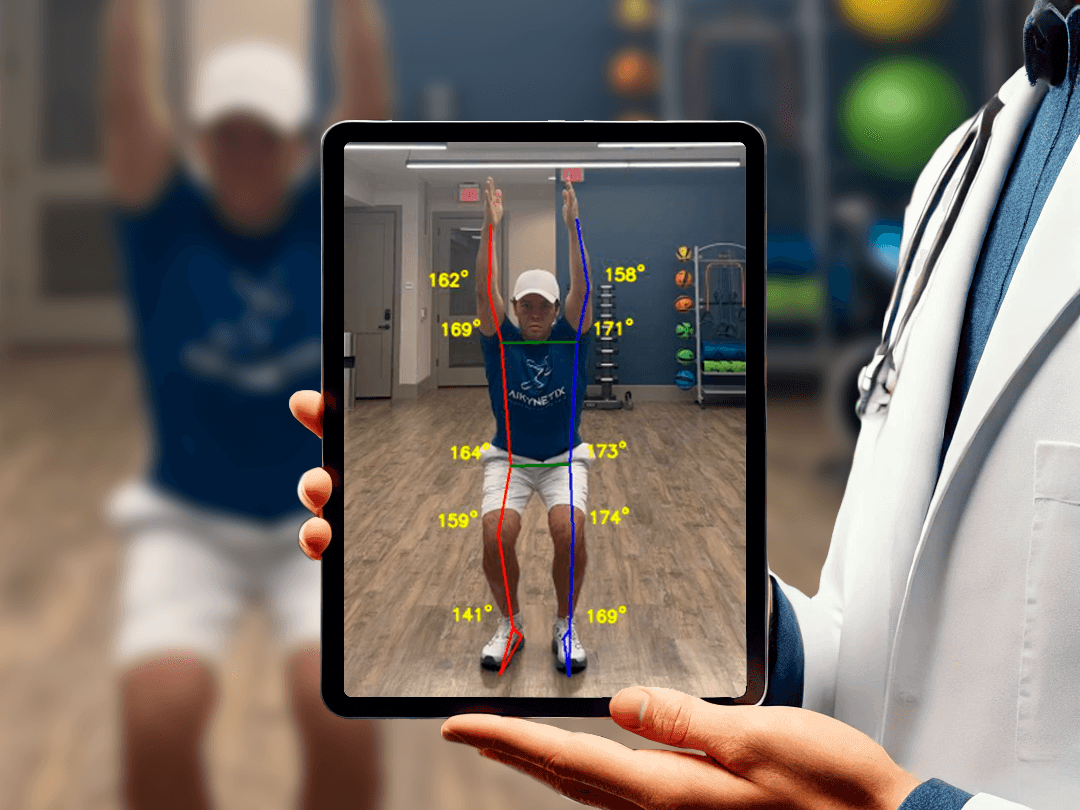
Reimagining the PT Visit: How AiKYNETIX Is Changing the Game
Discover how AiKYNETIX empowers physical therapists with objective, video-based movement analysis
May 7, 2025 - Articles · Explainers
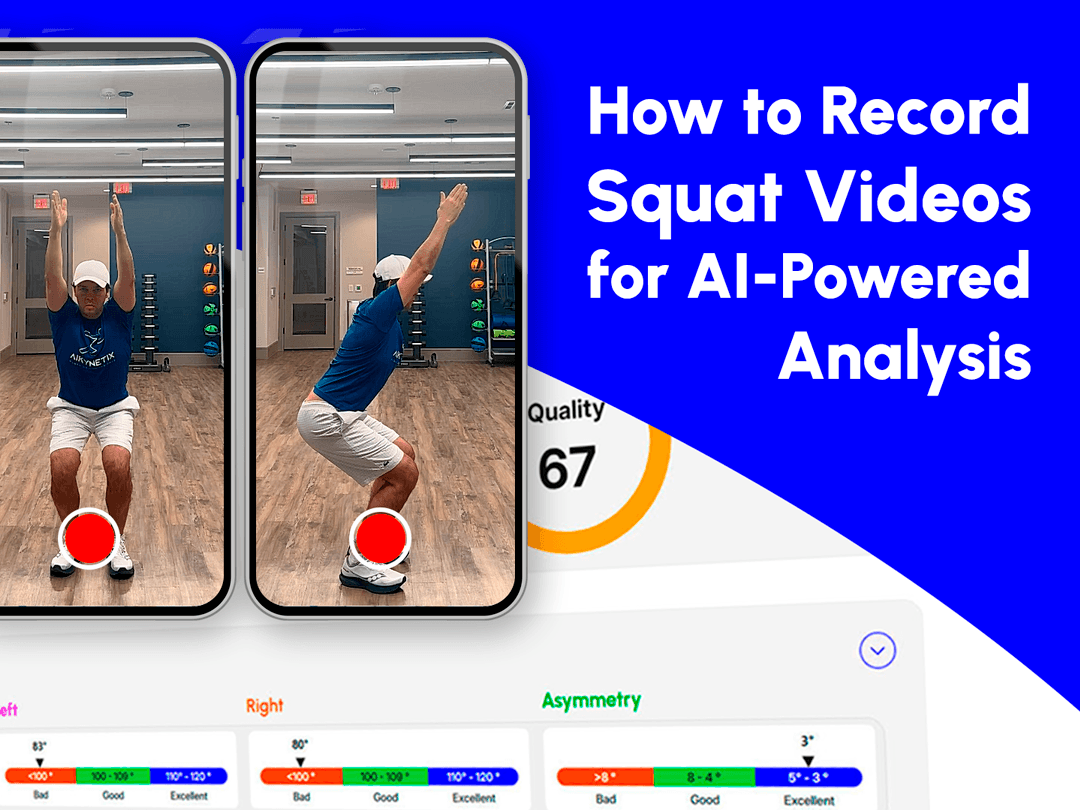
How to Record Squat Videos for AI-Powered Analysis
This step-by-step guide covers setup and how accurate video input leads to better insights
Apr 30, 2025 - Articles
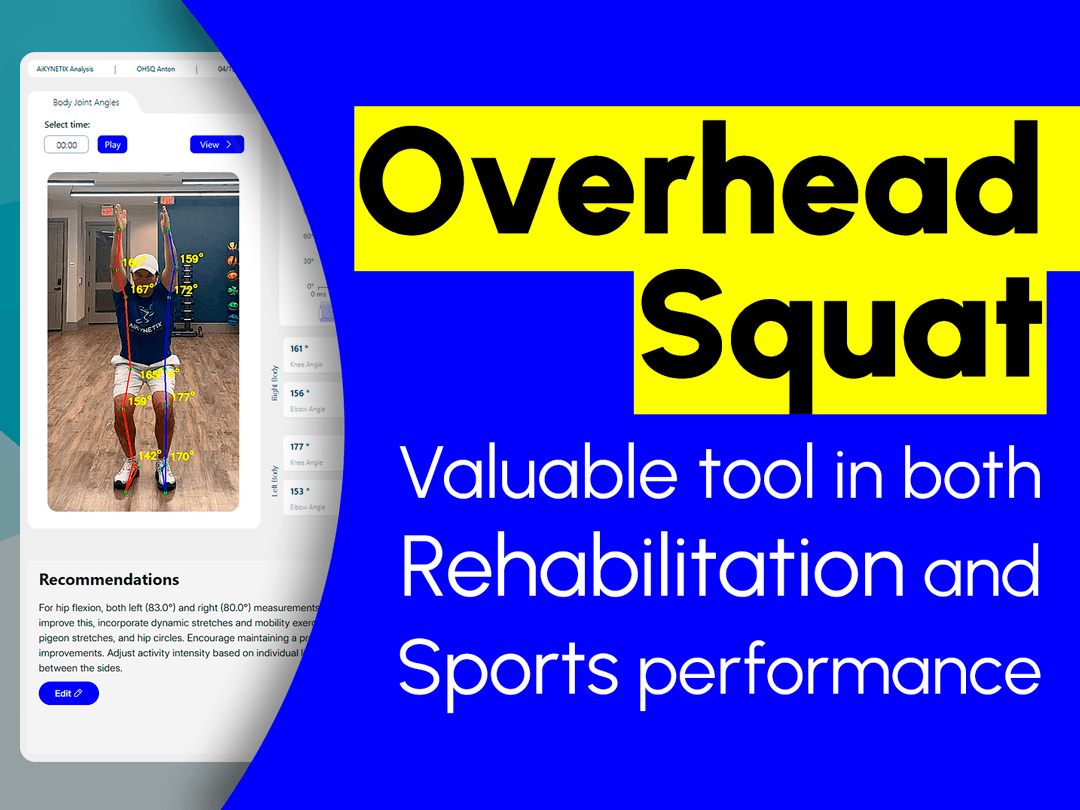
Why the Squat Is Essential—and Why We Should Be Measuring It with Smart Tools
Discover how the overhead squat becomes a powerful diagnostic tool
Apr 17, 2025 - Articles
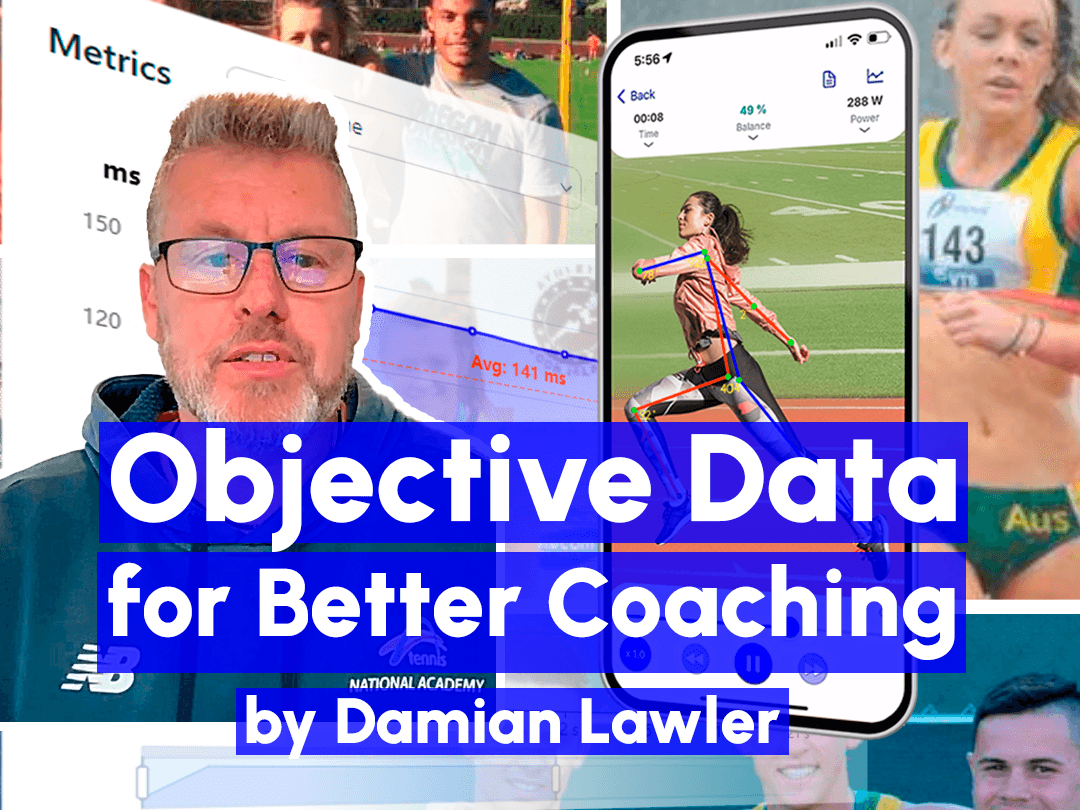
Harnessing Objective Data for Better Coaching
ATFCA member Damian Lawler shares his experiences gained from working across multiple sports
Mar 19, 2025 - Articles
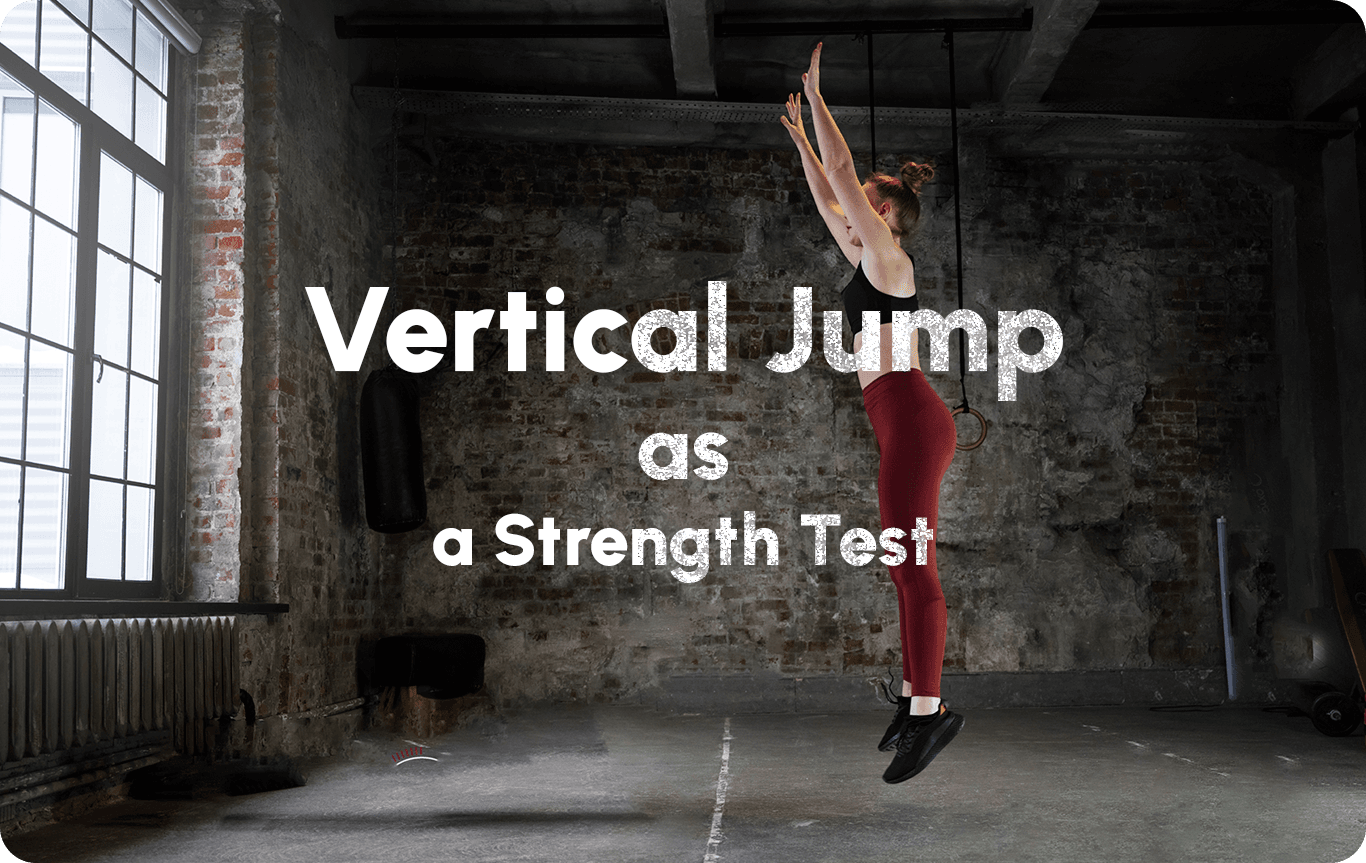
Why Vertical Jumps May Be a Better Strength Test Than a 1RM Back Squat
Discover why vertical jumps may be an effective test of lower-body strength
Mar 14, 2025 - Articles
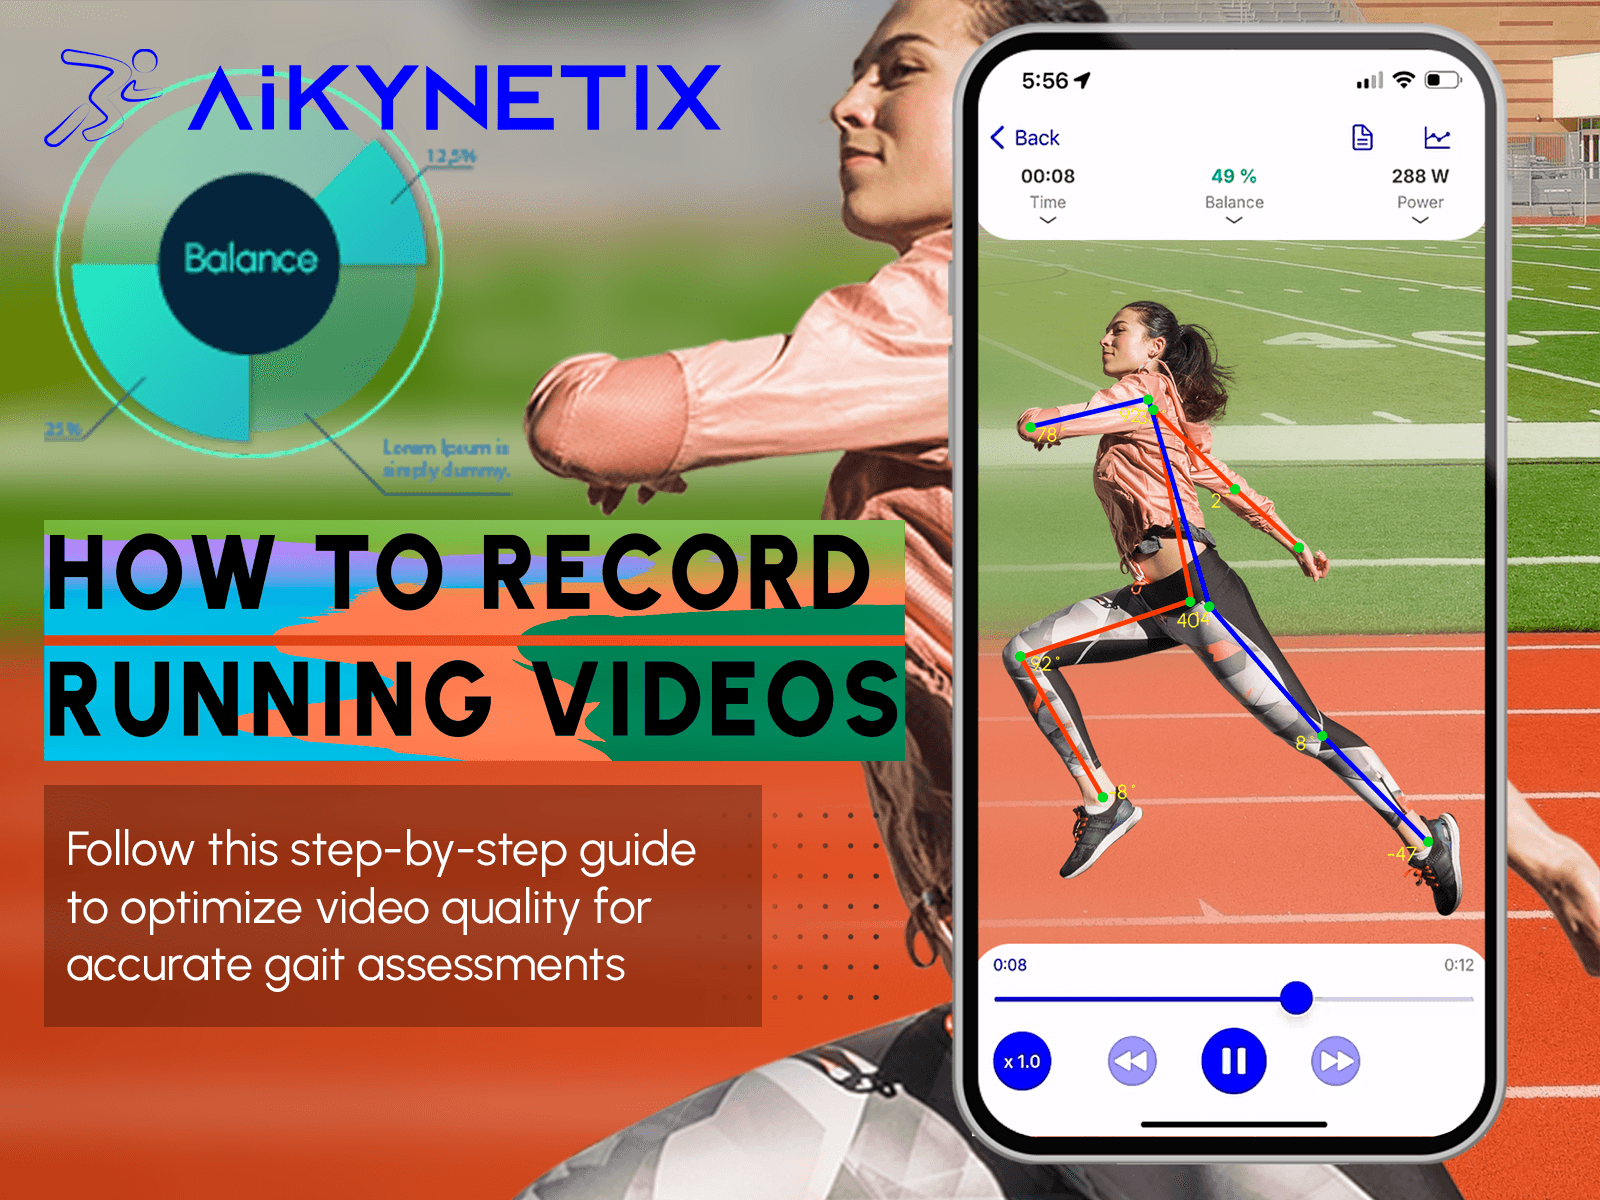
How to Record Running Videos for AI-Powered Analysis: A Step-by-Step Guide
Follow this step-by-step guide to optimize video quality for accurate gait assessments
Feb 13, 2025 - Articles
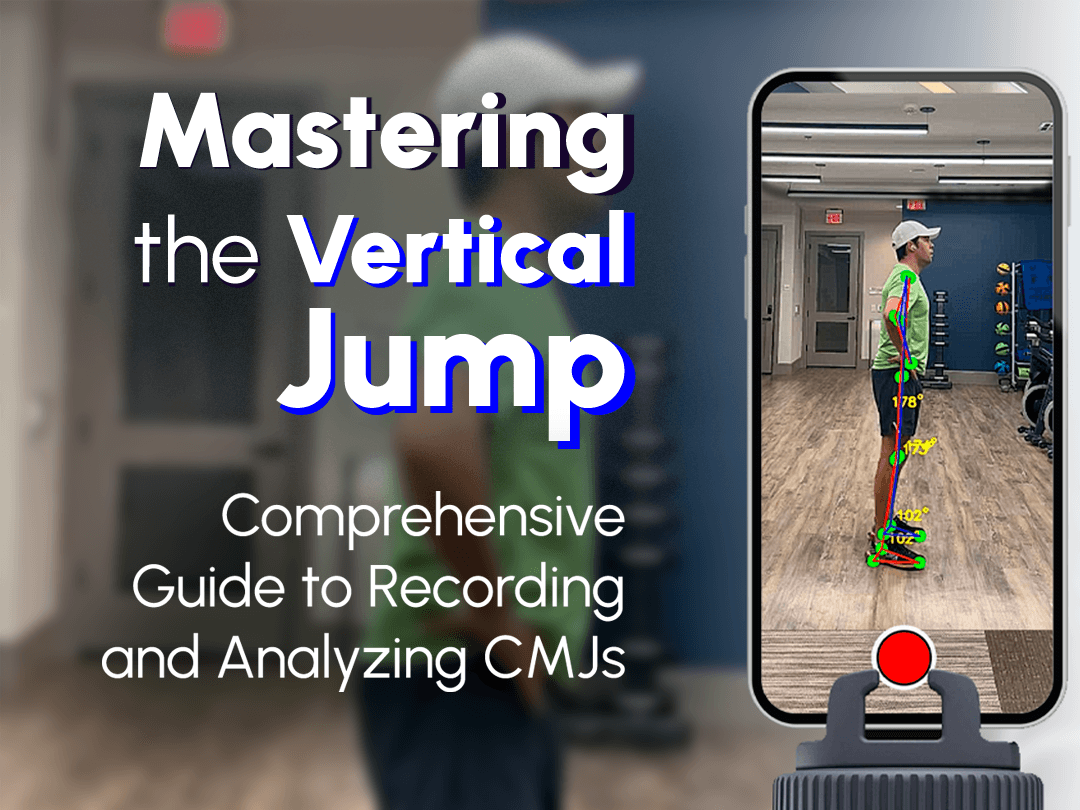
Mastering the Vertical Jump
Comprehensive Guide to Recording and Analyzing CMJs
Jan 28, 2025 - Articles

How to Record Weightlifting Workouts Accurately with the AiKYNETIX App
Learn how to record weightlifting workouts in the AiKYNETIX app for precise performance tracking
Jan 16, 2025 - Articles
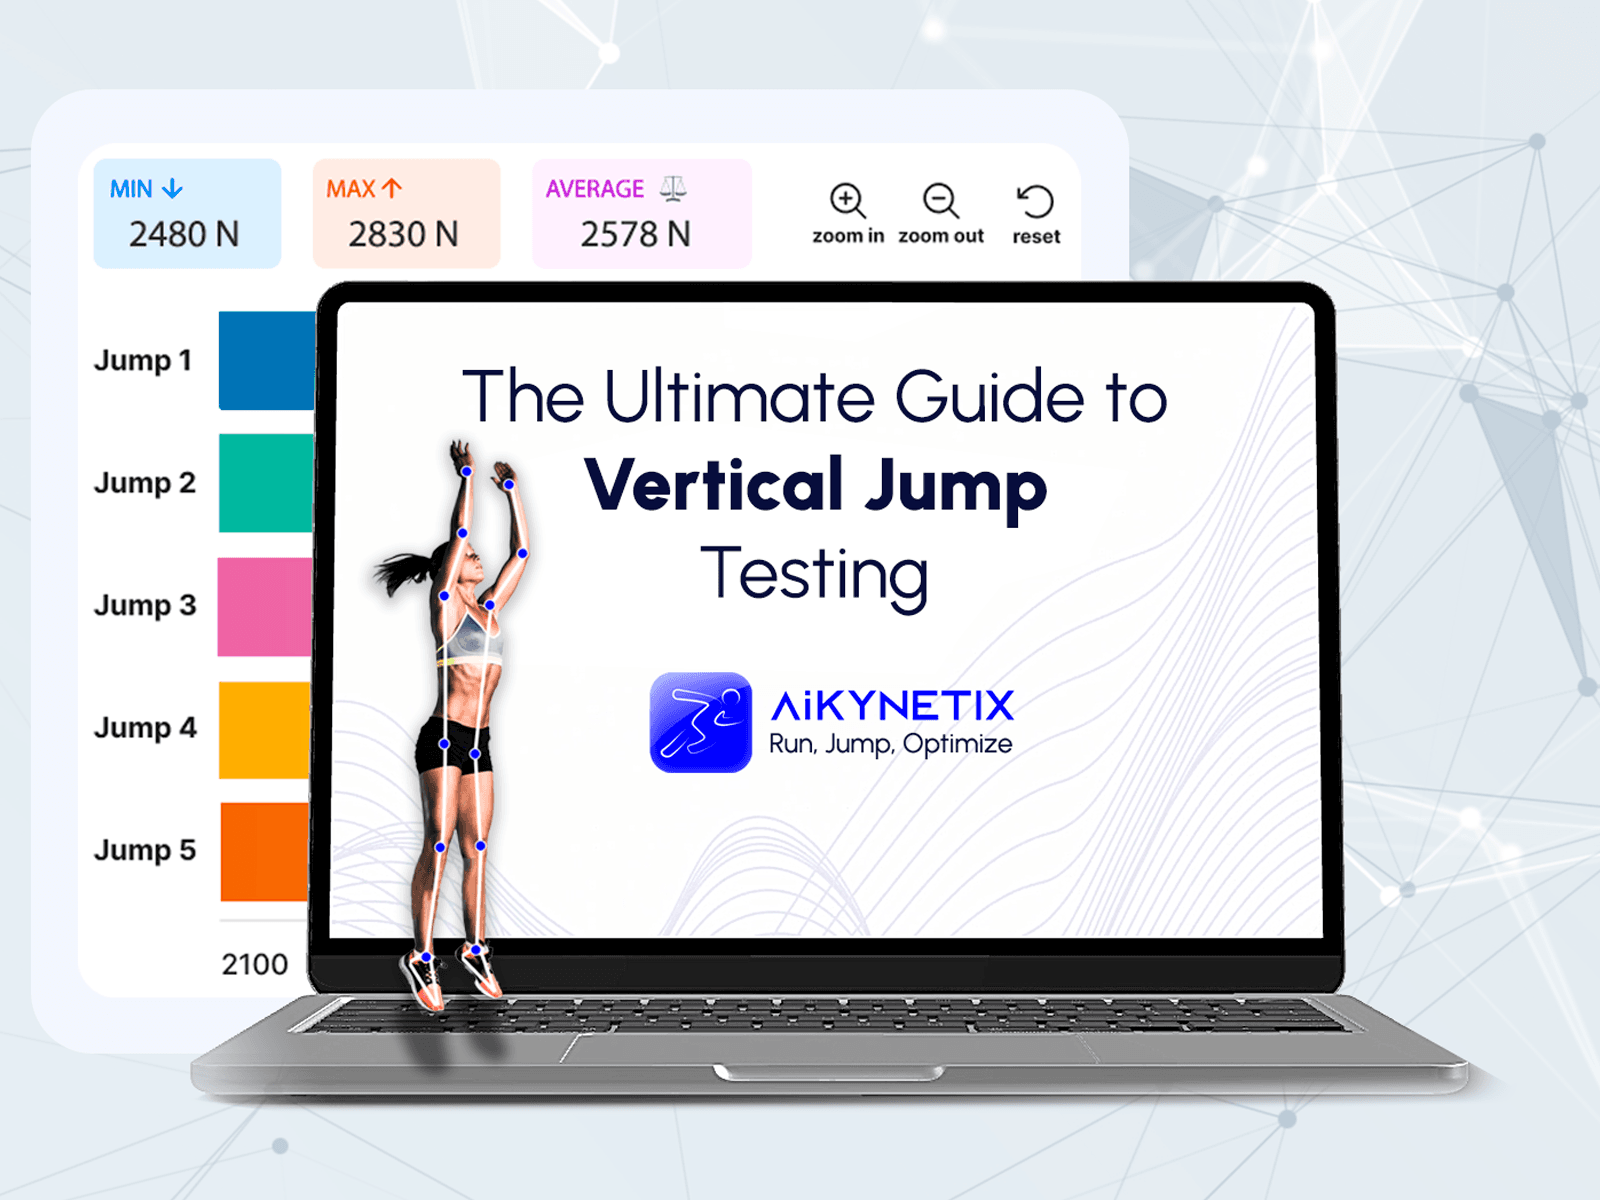
The Ultimate Guide to Vertical Jump Testing: Metrics, Monitoring, and Performance
Learn how vertical jump testing can enhance athletic performance, track fatigue, and guide rehabilitation
Dec 11, 2024 - Articles
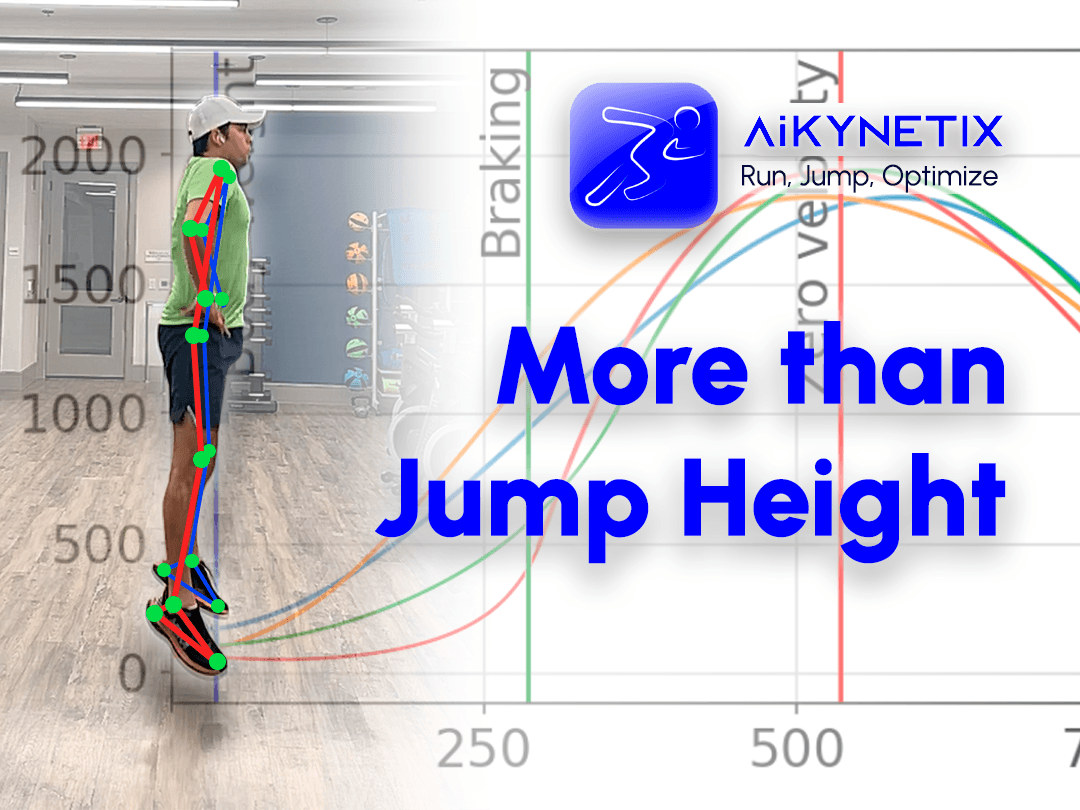
The Countermovement Jump – More Than Just Jump Height
Decoding the Countermovement Jump for True Performance Insights
Dec 3, 2024